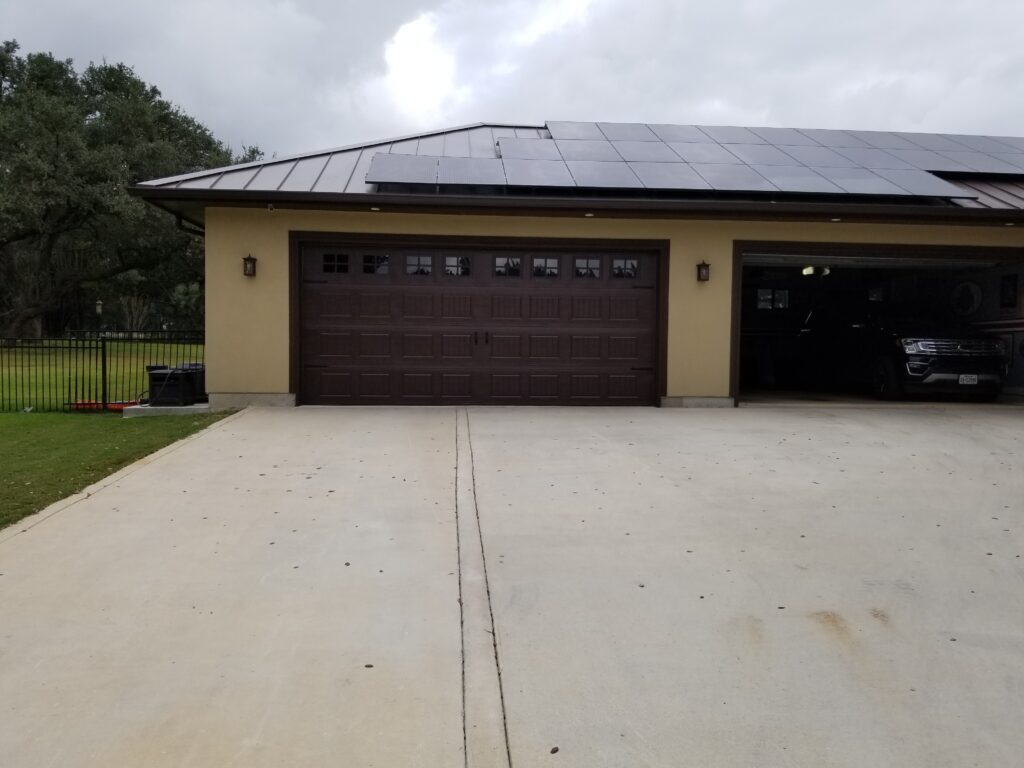
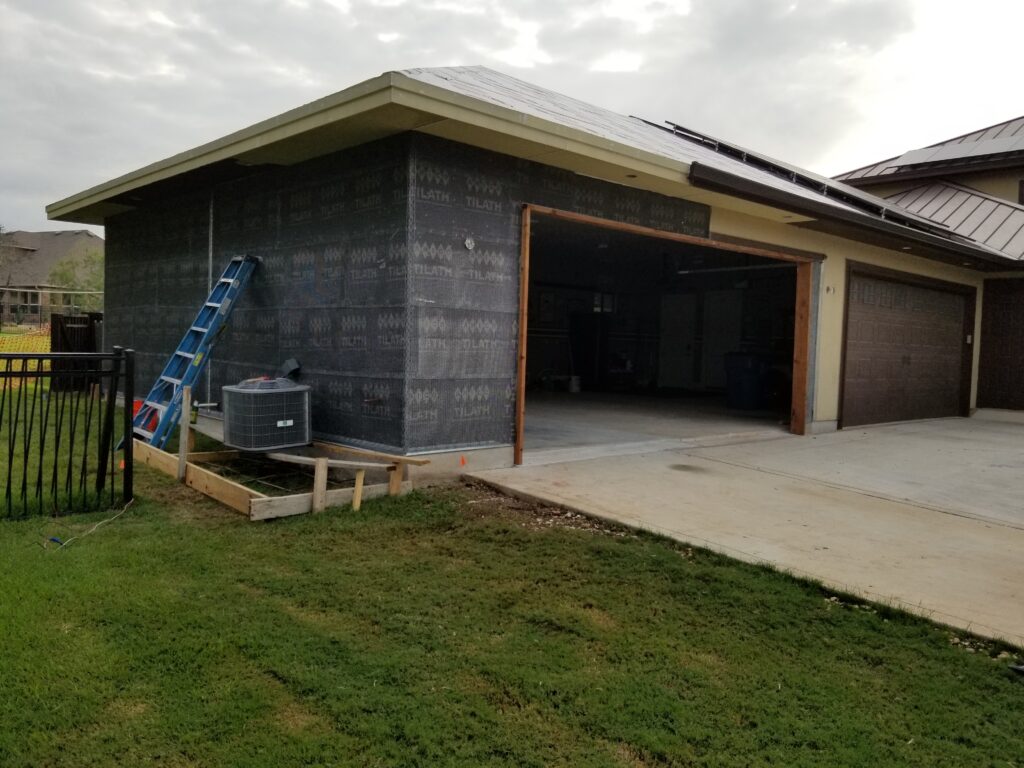
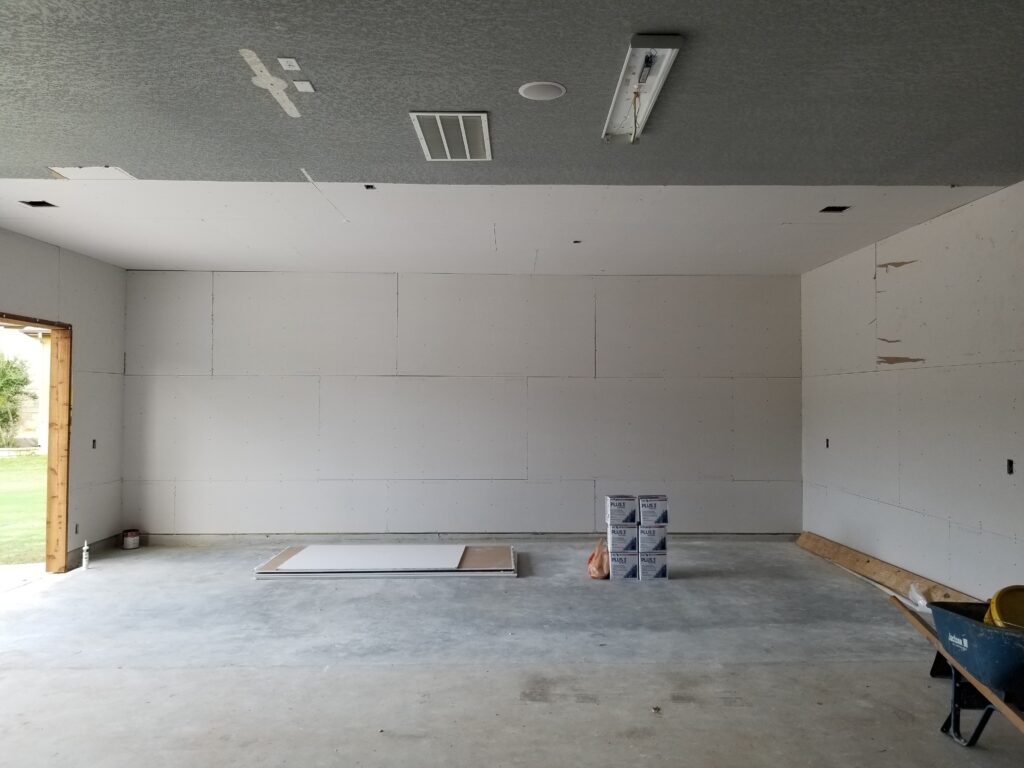
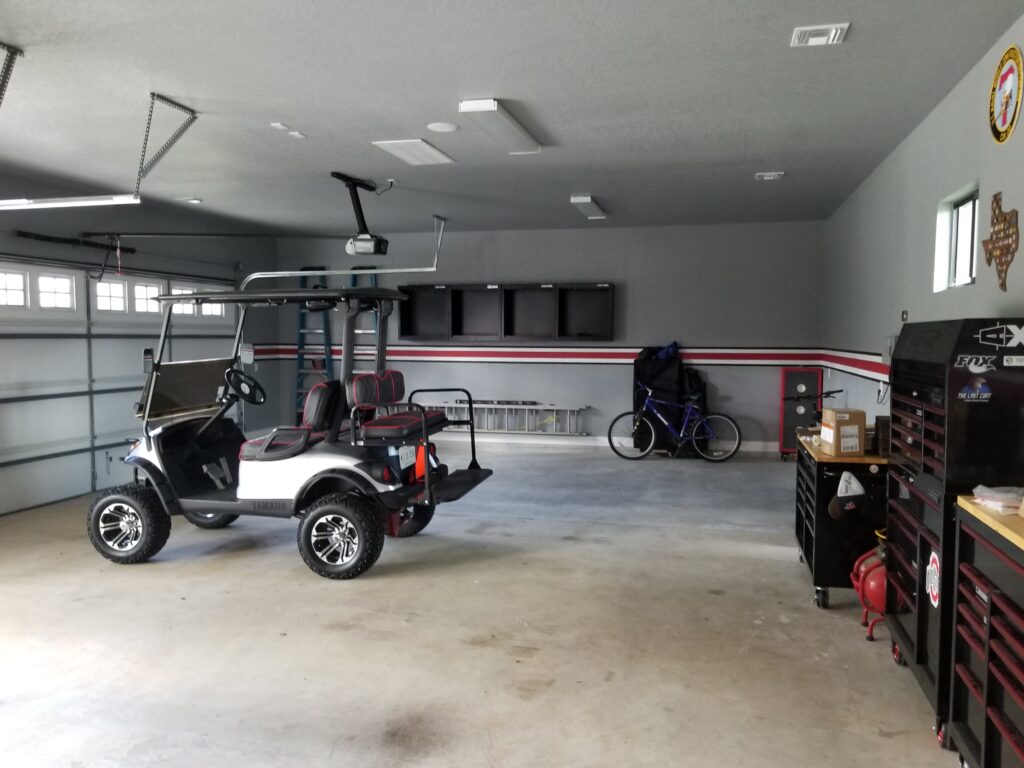
This garage expansion project may look small and easy but the technical difficulties was a bit more challenging than meets the eye. The area of challenge was in the front left corner area. The structure needed to be out of the way in order to demo the concrete and pour a seamless slab under the future garage structure. Kind of tricky ;-/
Getting started on this interesting garage expansion project.
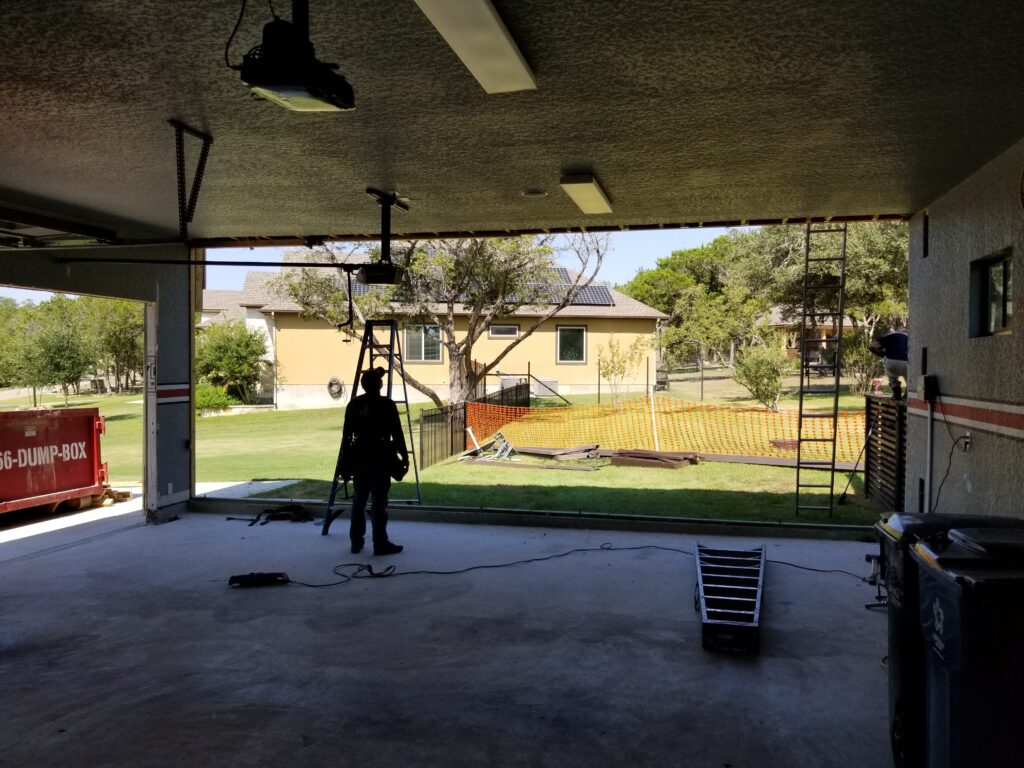
Getting the demo completed. Taking off the stucco and metal standing seam roofing before removing the bearing wall that holds up the end of the garage.
This corner is the problem child of the project.
We just need it to behave properly without incident!
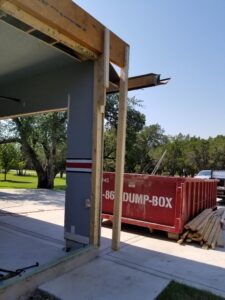
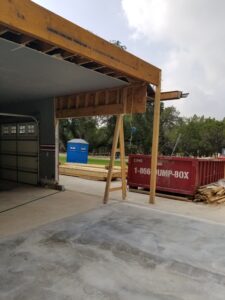
Notice the double LVL beams sandwiched together that are now set in place ready to take on the roof load. They are extended out beyond the garage footprint and held up by a temporary post, thus creating a clear span for the concrete work to be done underneath once that corner wall is removed.
Getting the demo done.
Now you can see that the slab has been poured and makes a
nice smooth transition with the existing garage slab.
Ready to frame the expansion walls.
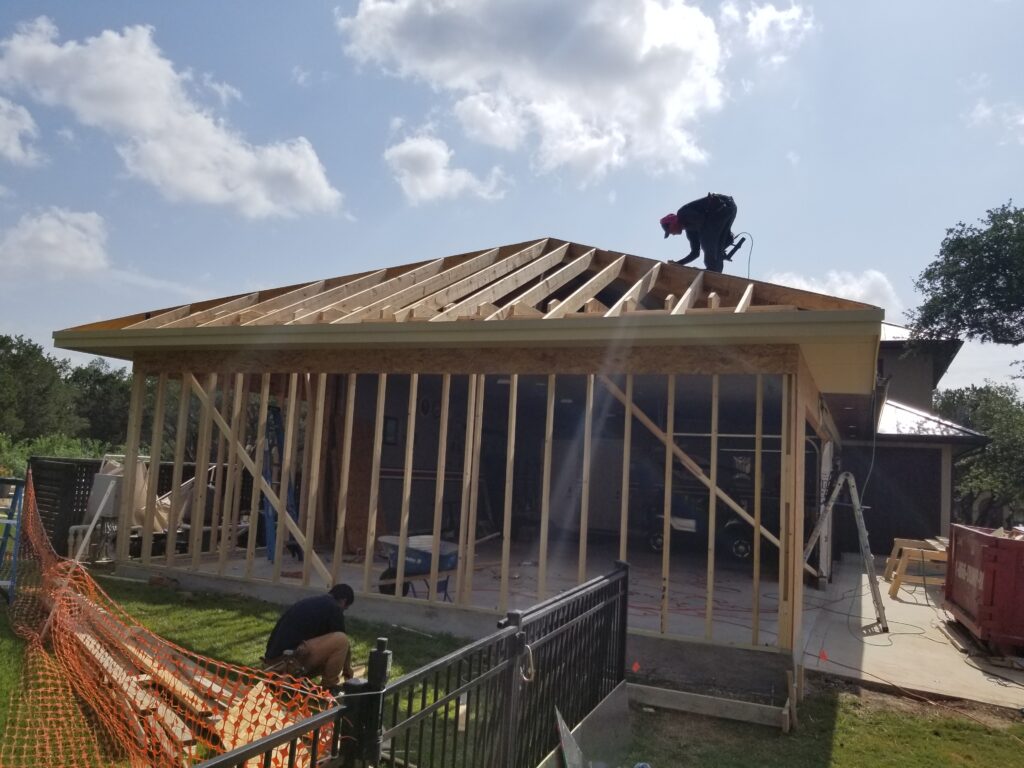
From here on it is pretty standard procedure to finish things up.
Framing the walls and roof structure.
This was a really gratifying project that turned out really well with no mishaps.


